Locations & hierarchy
Updated
Modeling where your gear actually lives, in a tree that mirrors reality.
A location in GearCache is a physical place something can sit. The trailer’s kitchen drawer. The third shelf in the garage. The boot of the car. Locations are organised as a tree because that’s how real storage works.
Why hierarchical?#
“It’s in the trailer” is useful. “It’s in the trailer’s kitchen drawer” is much more useful. A flat list of locations forces you to choose one resolution — either you have one big bucket called Trailer and rummage, or you have a hundred sibling locations and lose them in a list.
A tree lets each item sit at the right level of detail. You don’t have to be precise everywhere; you can be specific where it matters and broad where it doesn’t.
Building the tree#
Open the Locations tab. On a fresh install you’ll see an empty list with an Add Location button; once you have a few entries, that action moves to the + in the top-right. Add a top-level container first — Trailer, Garage, Car, whatever — and save.
Tap that new location to open it. Inside, you’ll see another empty list and the same + button — which now adds a child location under the one you’re standing in. Drill in again to nest one level deeper. There’s no depth limit; go three or four levels deep if your trailer’s that organised.
Each location can have:
- A name (required)
- A description (optional, for “the one near the spare wheel” style notes)
- A parent location (set on creation, changeable later — see Renaming and moving below)
- An icon (optional, for visual scanning)
That’s all. Locations are deliberately thin — items carry the weight. New locations are appended to the end of their sibling list automatically; there’s no manual reordering in this version.
A worked example#
This is the structure most overlanders end up with, give or take a drawer:
Home
├── Garage
│   ├── Shelf 1
│   └── Camping box
└── Shed
Trailer
├── Kitchen drawer
├── Driver side canopy drawer
└── Roof rack
Car
├── Boot
└── Back seat storage
Three top-level locations (Home, Trailer, Car), each with a couple of meaningful children. Items move between branches as the trip evolves: gas canister starts in Home > Garage > Camping box, gets packed into Trailer > Kitchen drawer, comes back at the end.
The screen shows one level at a time — the Locations tab lists the top-level entries; tapping any one opens its children; tapping a child opens its children. Think of the diagram above as a map of where you can walk; the actual app gives you one room at a time.
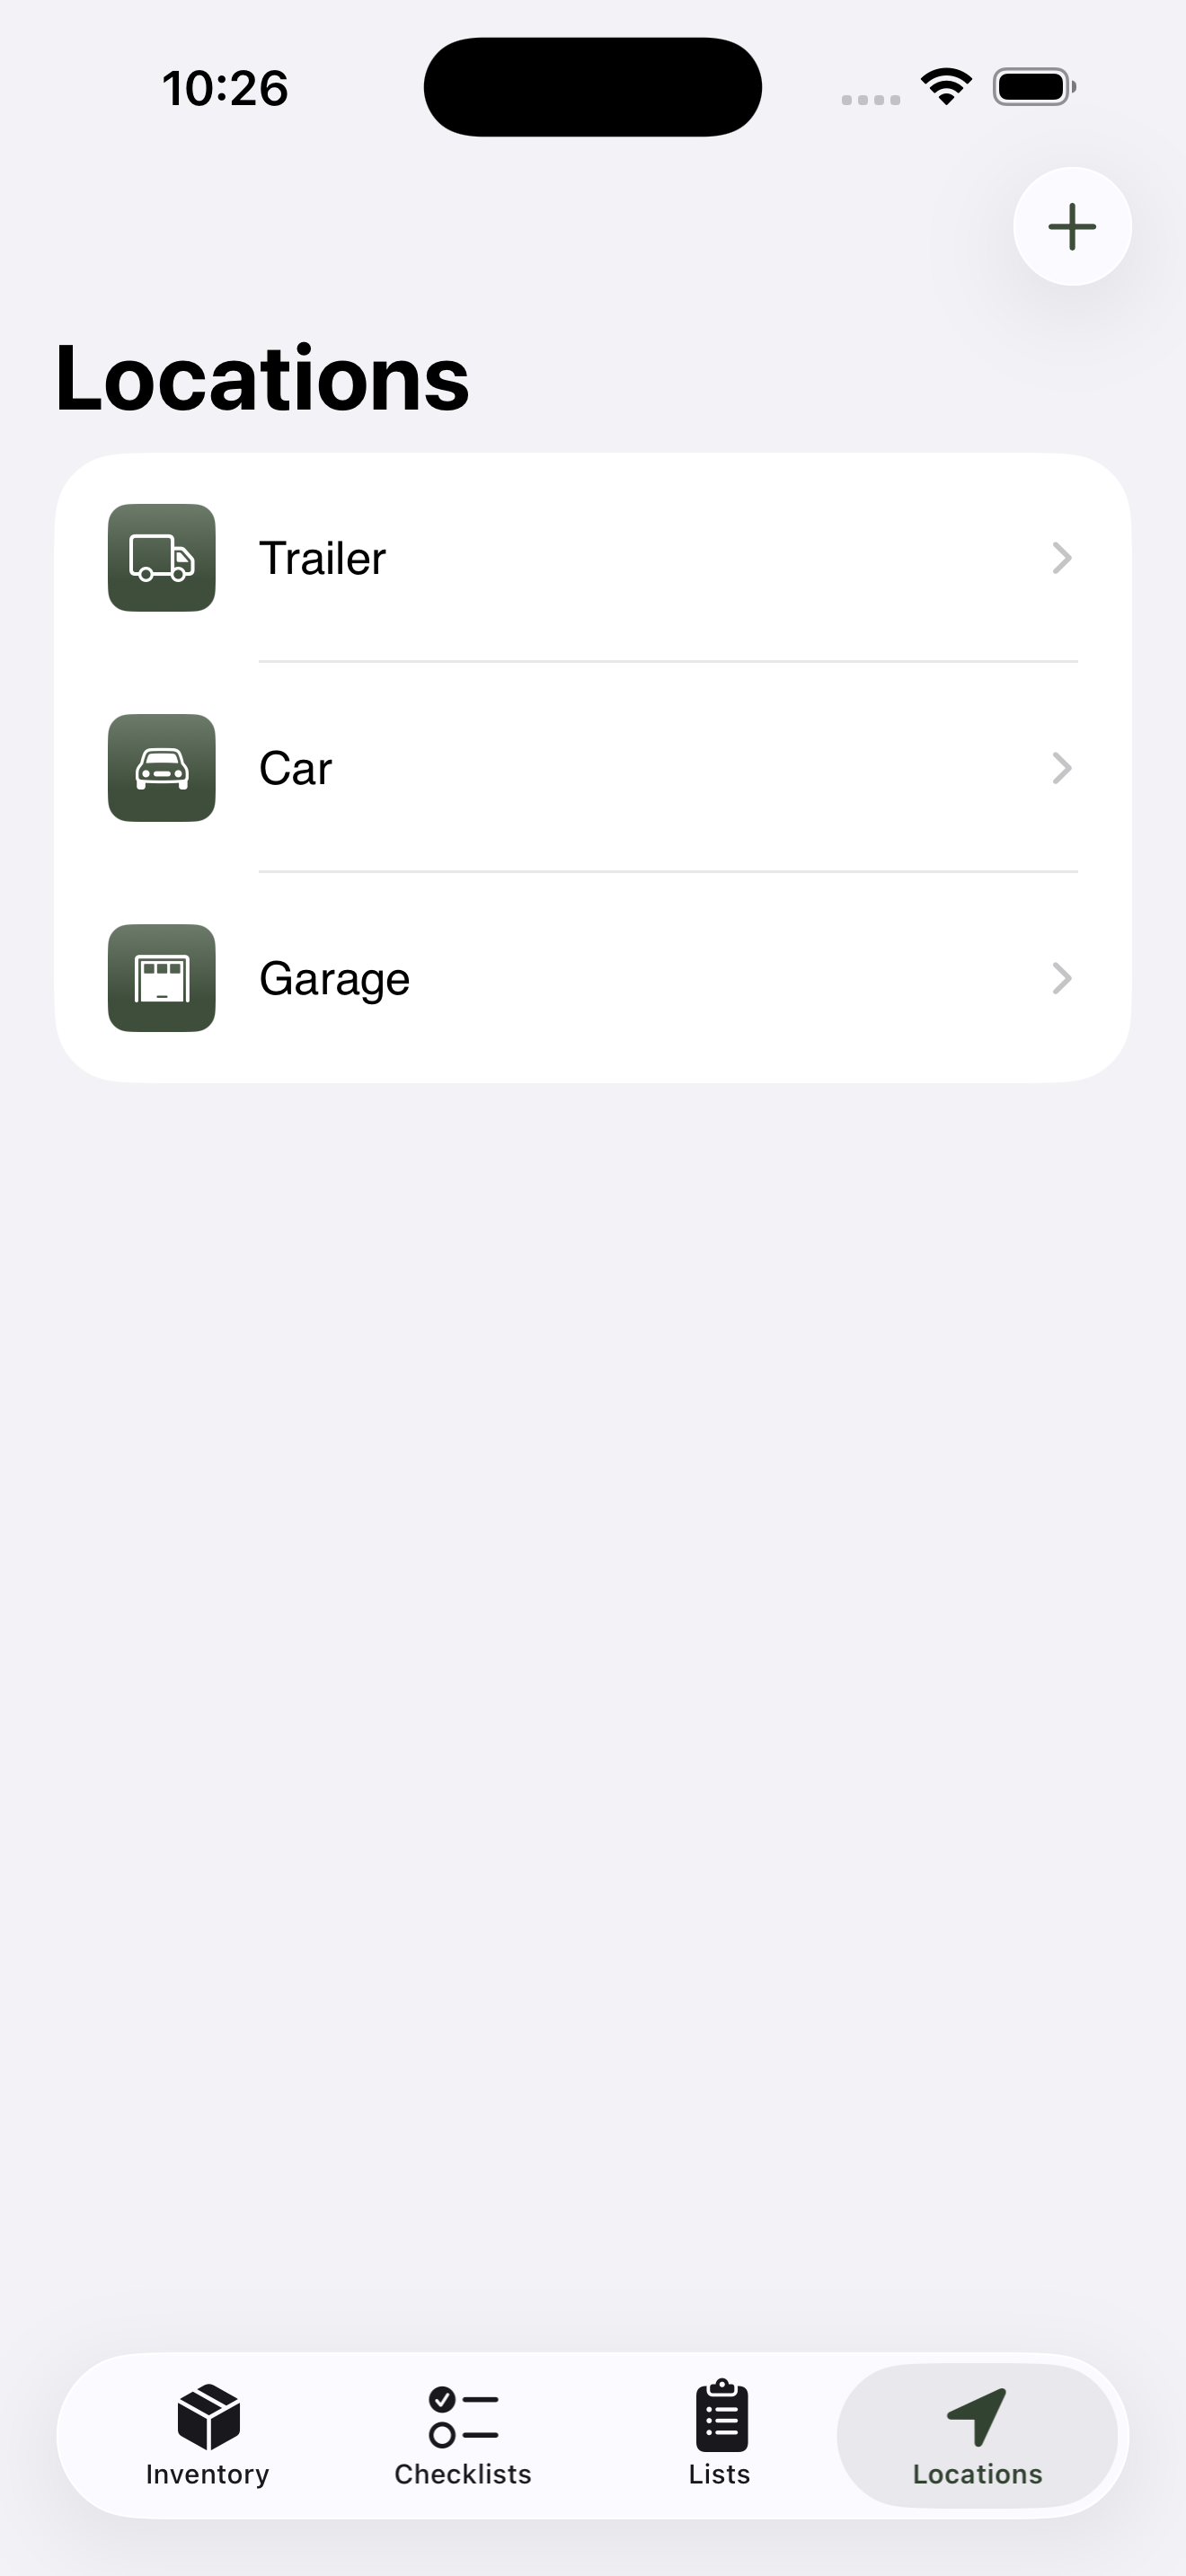
The top level — top-level locations only, no expandable tree.
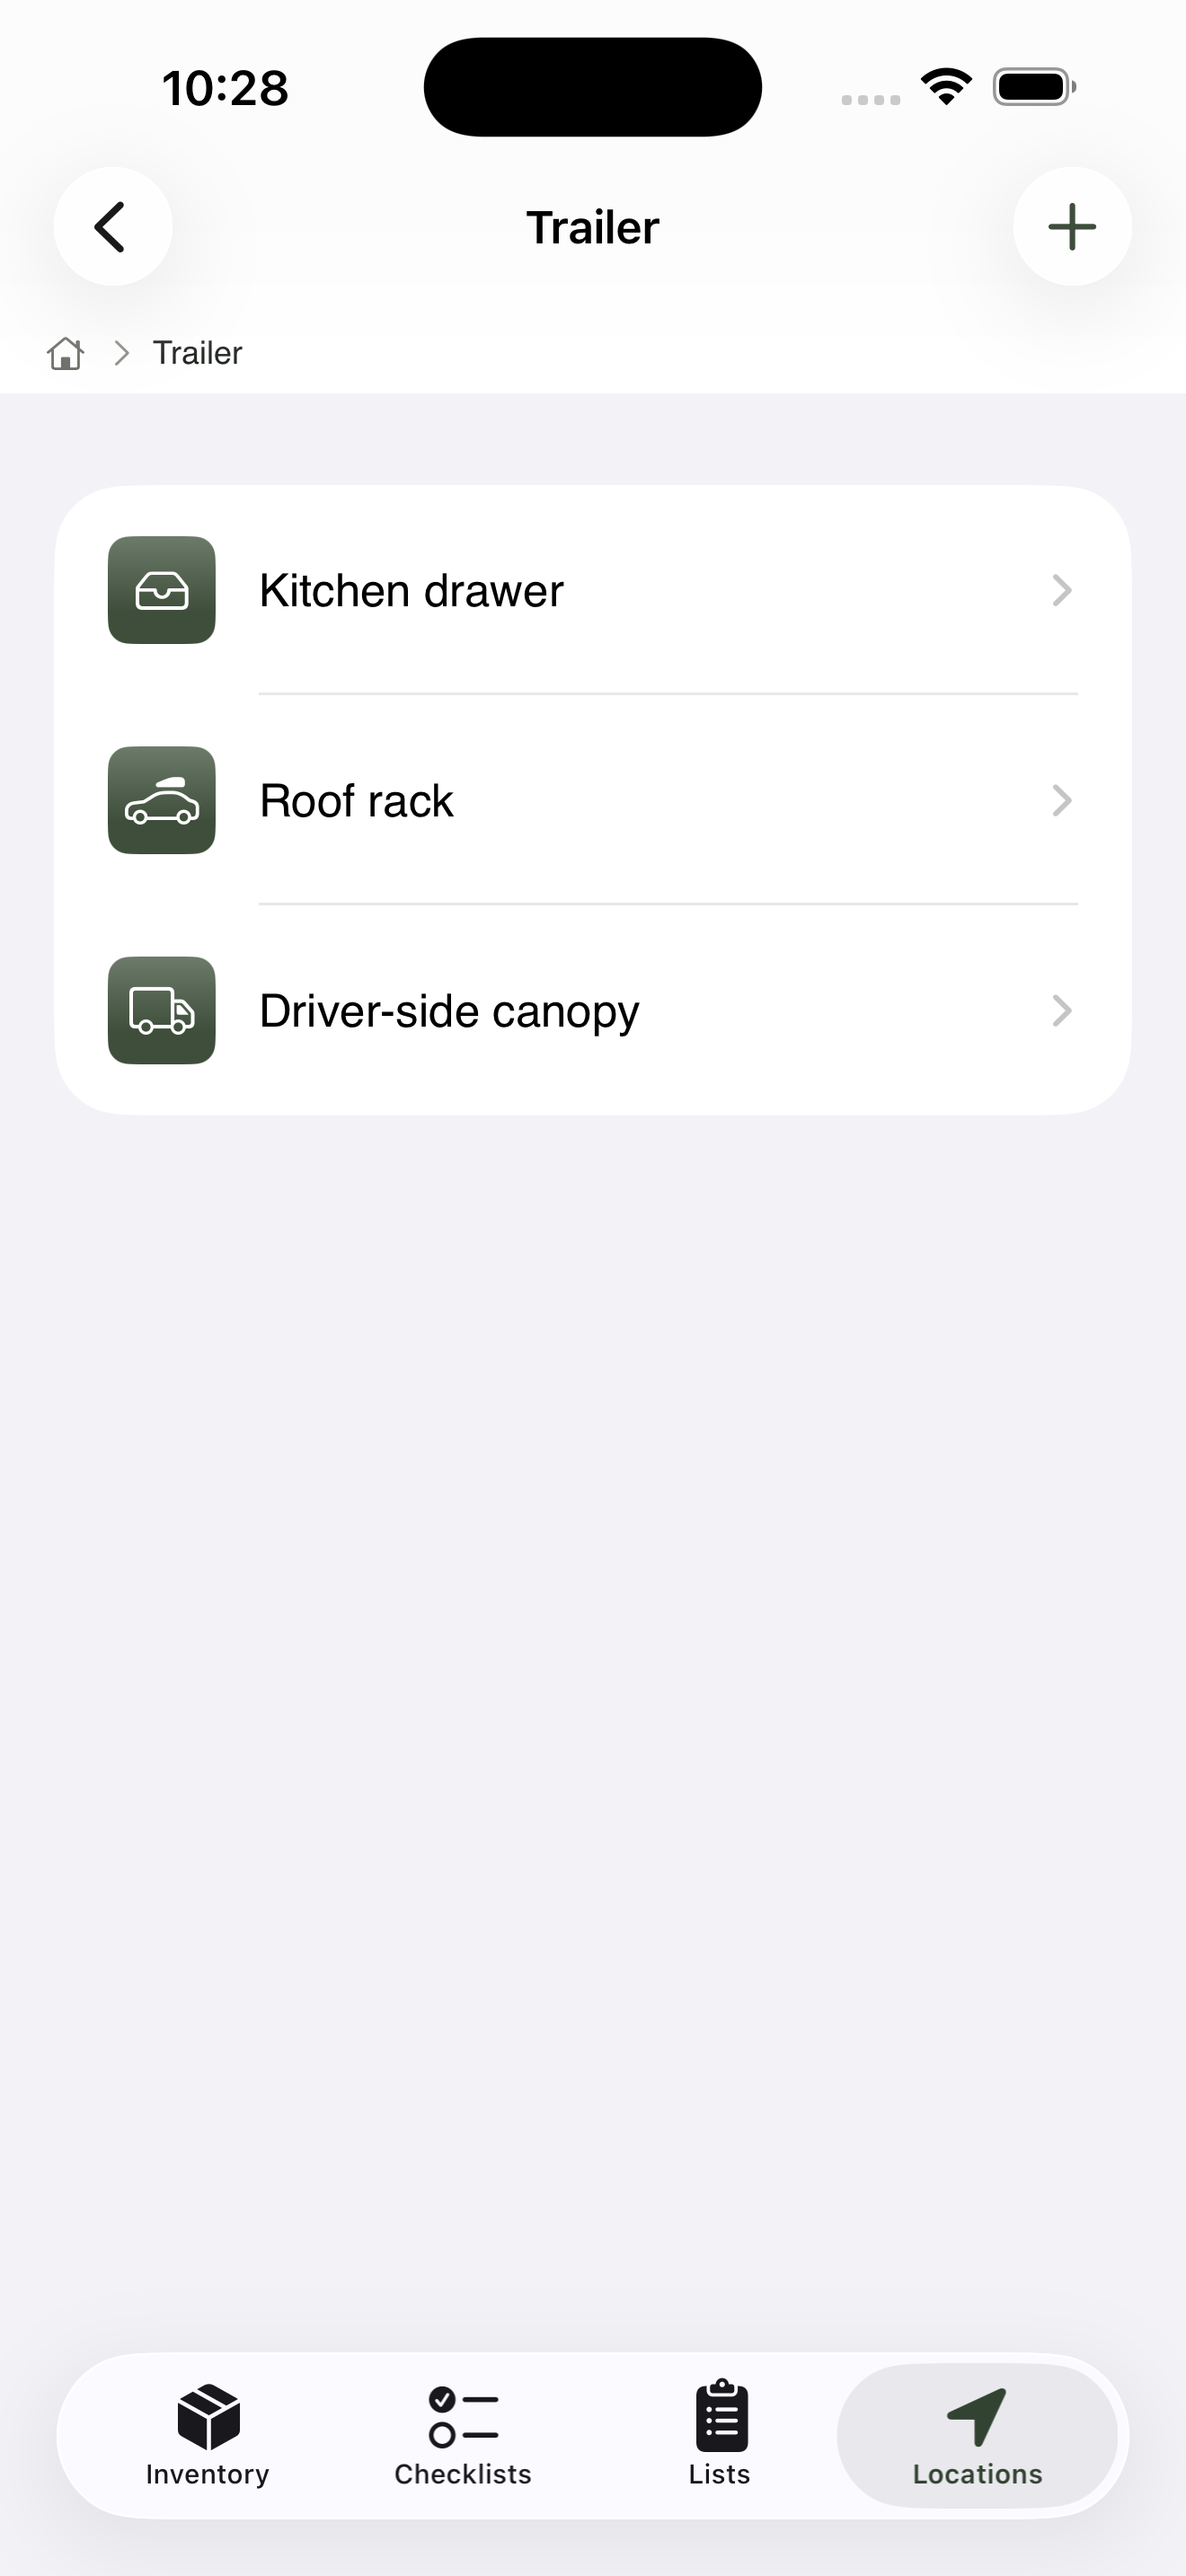
Drill in to see what’s nested below.
Renaming and moving#
Tapping a location opens it — that’s how you drill into the tree. To edit a location instead, swipe left-to-right on the row to reveal an Edit button, or long-press the row to get a context menu with Edit and Delete. Both routes open the same edit screen.
From the edit screen you can change the location’s name, description, or icon. To move a location to a different parent — say, promoting Camping box from Garage to a top-level location — open the Parent Location field on the same edit screen and pick a new parent (or Root for top level).
When you move a location, every item inside it follows. Items don’t stick to a parent location — they belong wherever the location goes.
How locations connect to checklists#
The location tree powers a few things on the packing screen, none of which involve the app pre-ticking anything for you:
-
The “from” hint. Every checklist row shows where the item currently lives —
from Trailer > Kitchen drawer, say — directly under the name. Granular locations earn their keep here:from Trailertells you which side of the carport to walk to,from Trailer > Kitchen drawertells you exactly which drawer to open. - The on-check auto-move. Each item can carry a default pack location, set on the item form. Ticking the item on a checklist writes that location to the item, so the inventory stays in step with reality without any per-row typing.
- The post-trip return. When you run the post-trip review, GearCache suggests each item’s usual location as where to put it back — that’s the value you set as Usually lives in. Hierarchical locations make that suggestion specific enough to be useful.
See Checklists & smart packing for the full packing flow, and Adding & managing items for the difference between an item’s usual location and its default pack location.
Suggested starting structure#
For first-time users with outdoor gear:
-
Home — anywhere not on the road. Often broken into
Garage,Shed, orCloset. - Trailer / camper / van — the rolling storage you take with you.
- Car — the daily driver, useful even if you also have a trailer.
Three top-level locations is enough to start. Add nested children as you find yourself wanting more precision — there’s no penalty for keeping things broad early and tightening later.
What to learn next#
- Checklists & smart packing — destination locations in action.